Computer Building
If you are going to construct a computer, your first priority should be to determine what you want the machine to do. A high-powered gaming rig will have different specifications than a computer that will never need to run anything more intensive than an HD video. Once you have decided what you want the computer to do, you can then decide the hardware, based on your needs.
To start, you need to choose a motherboard, which is the most important part of any computer. You must take into consideration a number of factors, including size, expandability, number of ports and whether you want an AMD or an Intel processor. Choosing a processor depends on whether you want a better-quality Intel model or a cheaper AMD model – the important specs being clock speed (the speed of the processor) and the number of cores.
RAM needs to be compatible with the motherboard in terms of type, channels and speed, but is otherwise not much of an issue because it is cheap and easily upgraded.
Your case, in addition to being large enough to fit your hardware, needs good airflow and must be quiet enough for your tastes. Looking cool is optional, but highly recommended.
An optical drive is essential if you want to play DVDs or CDs.
Hard drives are available in SATA 3Gb/s, SATA 6Gb/s, and Solid State Drive variants, in ascending order of speed and price.
The power supply must be sufficient for your needs. There are calculators that will discern exactly how much power you need, but you are advised to buy more than strictly necessary in case you wish to upgrade in the future.
A video card is optional, but desirable, if you are going to engage in graphically demanding tasks like games.
These parts may be purchased either online or from local retailers as a matter of preference, though local retailers have no shipping fees and superior customer service.
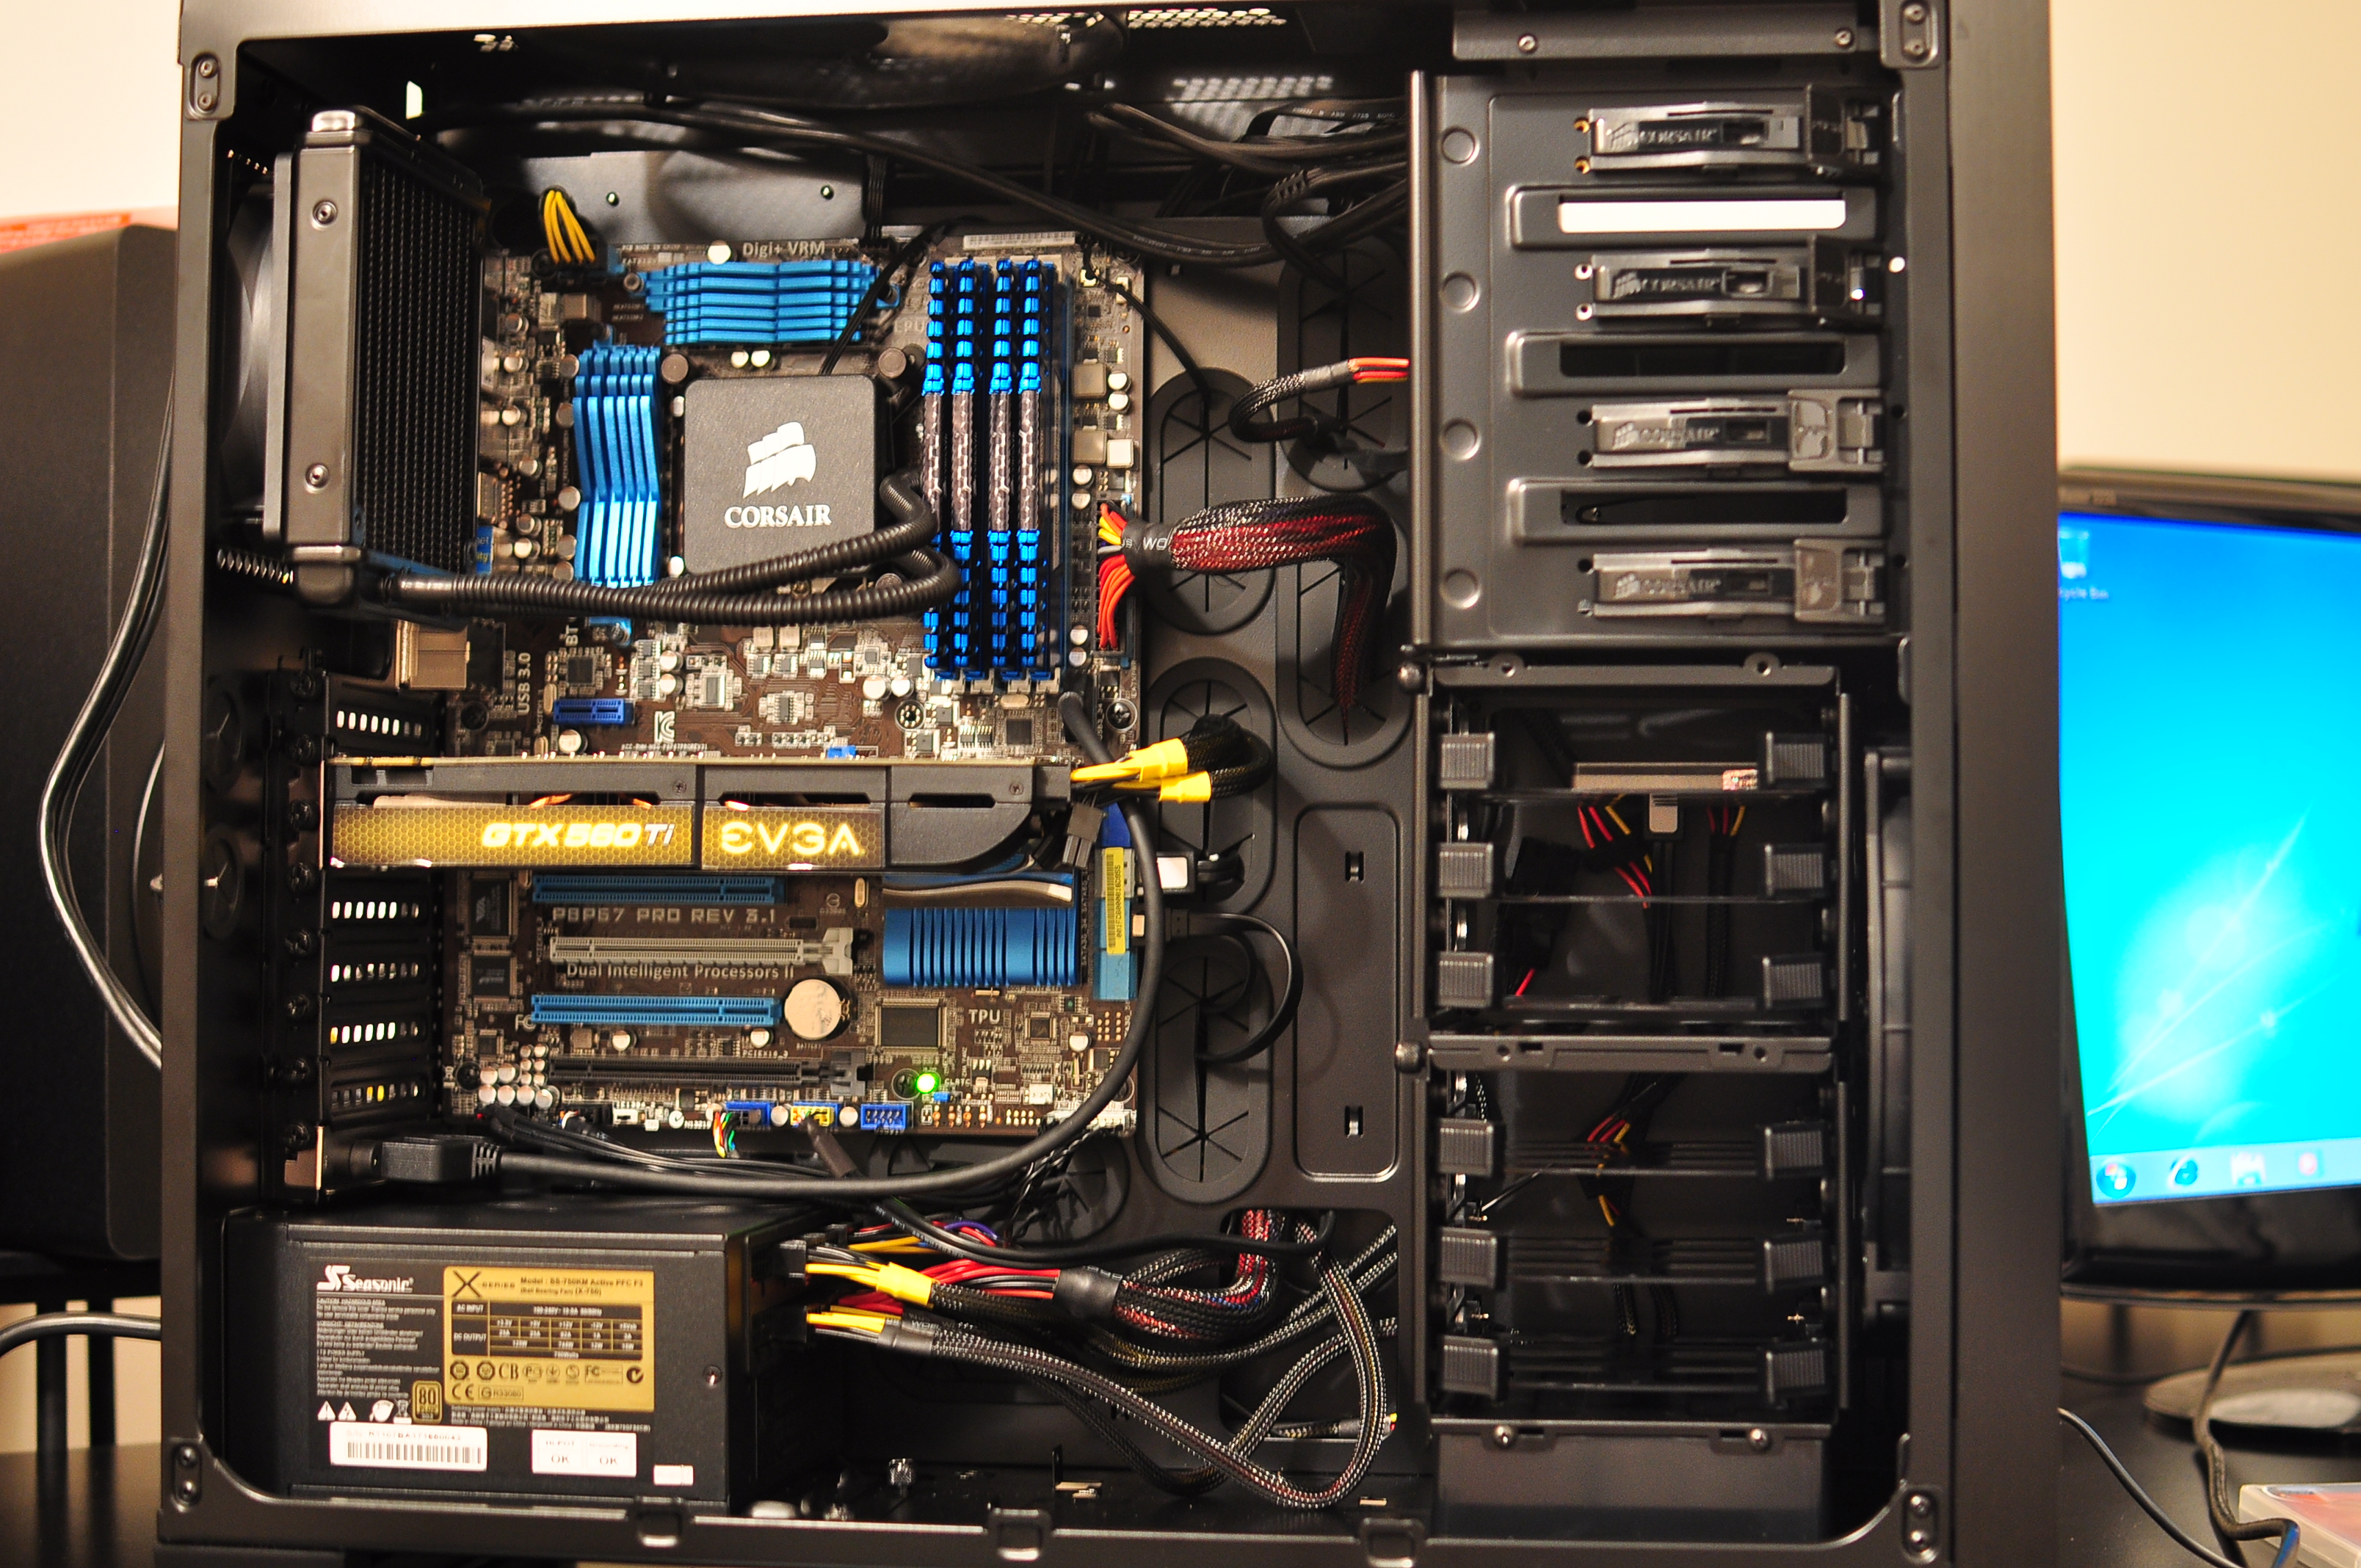
Now, of course, comes the task of actually assembling your machine. To begin, you take the motherboard and install the processor. This is accomplished by aligning the markings on the two pieces of hardware, placing the processor into the slot, and then gently securing it with the lever, being mindful of the processor’s fragility. You then install the RAM, which is a fairly simple matter of slotting the RAM into the relevant sockets, being mindful of the clips.
Then you take the I/O shield (a metal plate that protects the motherboard) from the motherboard box, and snap it into its slot on the case, a task that requires a substantial amount of power invested into it in order to work properly. You then compare your motherboard to your shield. The latter should have more holes than the former. You then take spacers provided with the motherboard and screw them into the spare holes. Then screw the motherboard onto the spaces, leaving it firmly secured. Assuming that your case did not come with a power supply, you should then install the PSU, which is a matter of placing it in its brackets with the fan facing away from the edge, and then screwing it in. If you have a video card or other PCI card, you should locate the relevant slot and gently push it in.
Following this, turn the computer on. Assuming it runs, you have successfully built a computer, and may now move on to getting it set up, which is beyond the scope of this guide. If it does not, verify you have put the computer together properly and consult the Internet for further troubleshooting.